Testing the charger function
Are you looking for this guide in French?
The new charger of the Impact series from October 2021, turns to float charging quicker than the old chargers. When the charging LED turns green the float charging current is below 0,6 Amperes = battery capacity is 75-80%. You need to keep the charger connected for at least 2 hours more to get full capacity, before using the Lifter. There is small difference in the position of the charger. LED opening is closer to the edge on the old chargers than on the new chargers from October 2021.
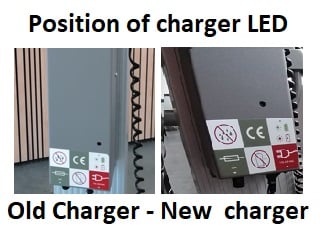
Testing the charger:
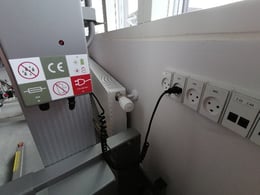
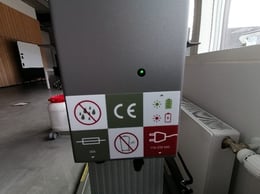
Connect the charger main plug to 90-240V. The LED on the Charger shall be RED in the first charging phase for at least 10 seconds. If it is GREEN from the start, there might be a broken fuse or internal failure in the charger.
If the batteries are 100% fully charged, you might see the LED go green after 1-2 seconds. Then testing of the charger function is done by Lifting with load and the main plug of the charger connected to 90-240V. If the charger is working correctly, the charging LED shall then turn RED, indicating the function and internal connections are correct.
When correct function and the batteries are less than 80% full, the charging LED is RED from the start and the charging LED then goes GREEN when the charger is switching to float charging = charging amperes is below 0,6A. This can vary from 10 seconds to several hours, depending on the remaining capacity of the batteries.
Checking the charger fuse:
Open the control box. Remove only one the screws in the top and both screws in the bottom.
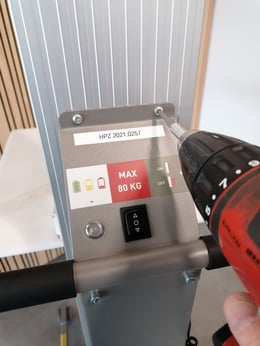
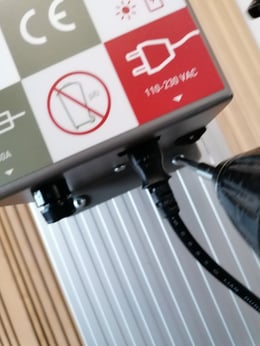
Gently push the control box to the side.
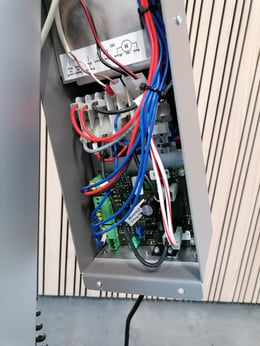
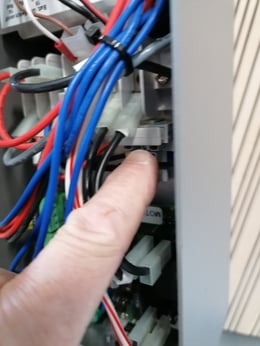
Location of the charger fuse. Fuse is 3,16A
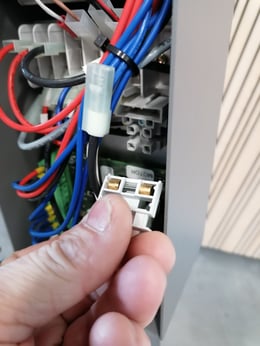
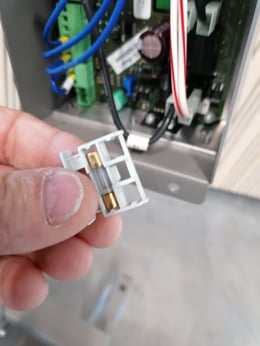
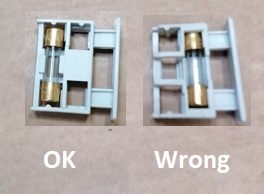
Please notice the fuse must be in the correct position!
Reviewed 24/5-2022. MH
