Replacing belt wheel, toothed cam belt, sledge, one-way bearing, switches
Are you looking for this guide in French?
Guide for replacing parts in Impact 70 mast
Remove the lifting tool and lay the Lifter down on a table.
Remove cover plate.
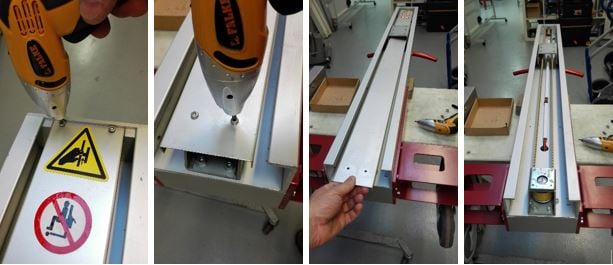
Parts of the top of mast:
Micro switches up/down item no. 40002825. Top limit switch 84080016. 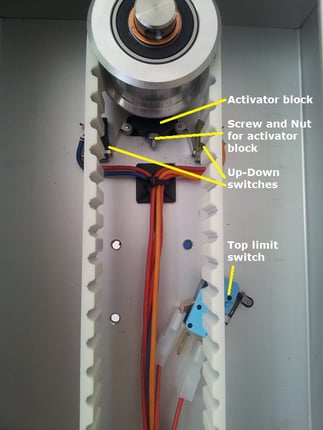
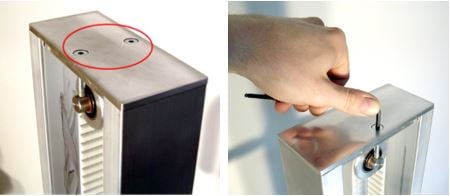
Locate the 2 screws in the top of mast. Release tension on the cam belt. If you shall replace the belt, you can take off the upper screw. Remove the screws of the belt wheel bracket.

Lift it up gently and slide the bracket off. If it is stuck, you might use tools gently to get it free!
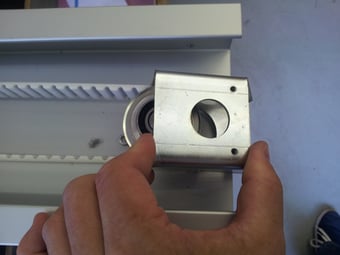
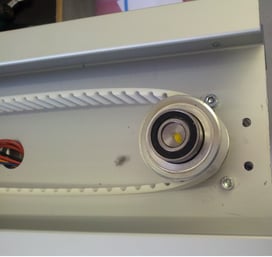
Take away the top bearing. Lift up the belt wheel with the cam belt. 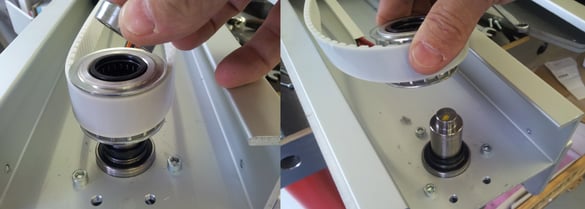
Slide off the sledge from the mast and take off the screws holding the cam belt.
When reinserting the new cam belt, make sure that 4 teeth in each end are held in place by the fastening plate. 
Insert the new belt wheel. Note the direction and position of distance rings.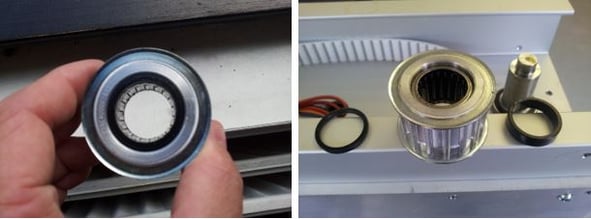
Make sure the belt wheel is in the right position before adding the cam belt and the bracket. 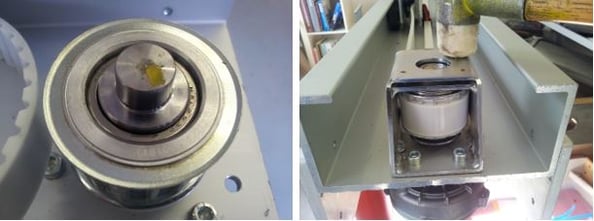
Align the top belt wheel in 90° using a try square
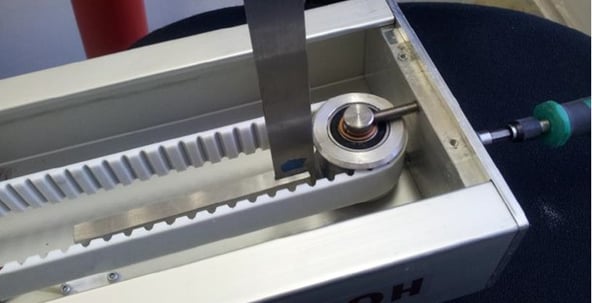
Locate the two screws on top of the mast. To tighten the cam belt, turn the two screws clockwise with a 4 mm hex key. Tighten the screws the same amount and check the tension of the cam belt. When the tension is right and the upper belt wheel is aligned, you can raise the Lifter up and add the lifting tool. Test the lifter 2 times with load and check the cam belt tension and cam belt position in the upper belt wheel.
In the case where the cam belt is not properly aligned, tighten the screw in the side the cam belt is drifting towards. Tighten one quarter turn at a time and run the sledge up and down intermediately without load to check alignment.
Measure the cam belt tension with a frequenzy tester.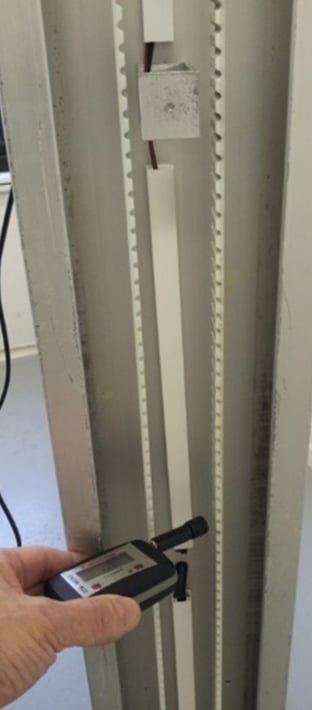

Add front cover and run the final Lifting test.
Revised 28/1-2022. MH
